Friday, January 18, 2013

Fit For A Princess

STEPPING UP MY GAME ;) DIY with NO SEWING!!!
My newest project?... Well I came across this picture from a post on Pinterest.com under "DIY & Crafts"


Fell in love with the idea... Mainly because our little daughter always says "look mommy, i princess!" and because I knew we had a pack n play just laying around in storage. So I first got permission from my hubby (marriage is about communication, understanding, support and compromises). When he gave me the clear... this is what I came up with :)

It's not completely done yet, this is just the basic that I am sharing with you, I will later post a picture after we've completed the decoration.

So again, this is what I started out with...
These are most the materials I used: about 5 yards worth of fabric (still have left overs) one of main color and one of mesh for curtains, 3 packs of stuffer (only used 2 of them so far, last one I'll use to make matching pillow), scissors, exact-o knife, binder clips and there are some other things in the picture that I guess I didn't need to use after all.
~~~~~~~~~~~~~~~~~~~~~~~~~~~~~~
First, I measured and covered the already existing mat with the main color fabric. Turn it over.
I proceeded by hot gluing one of the long sides first then using the binder clips to hold one of the short sides in place (not glued yet). Flipped it back over.
~~~~~~~~~~~~~~~~~~~~~~~~~~~~~~
Stuffed it with the 2 of 3 packages of stuffing, spreading it out a bit by hand, turned it back over and completed gluing all remaining sides (long before short), removing the binder clips.
~~~~~~~~~~~~~~~~~~~~~~~~~~~~~~
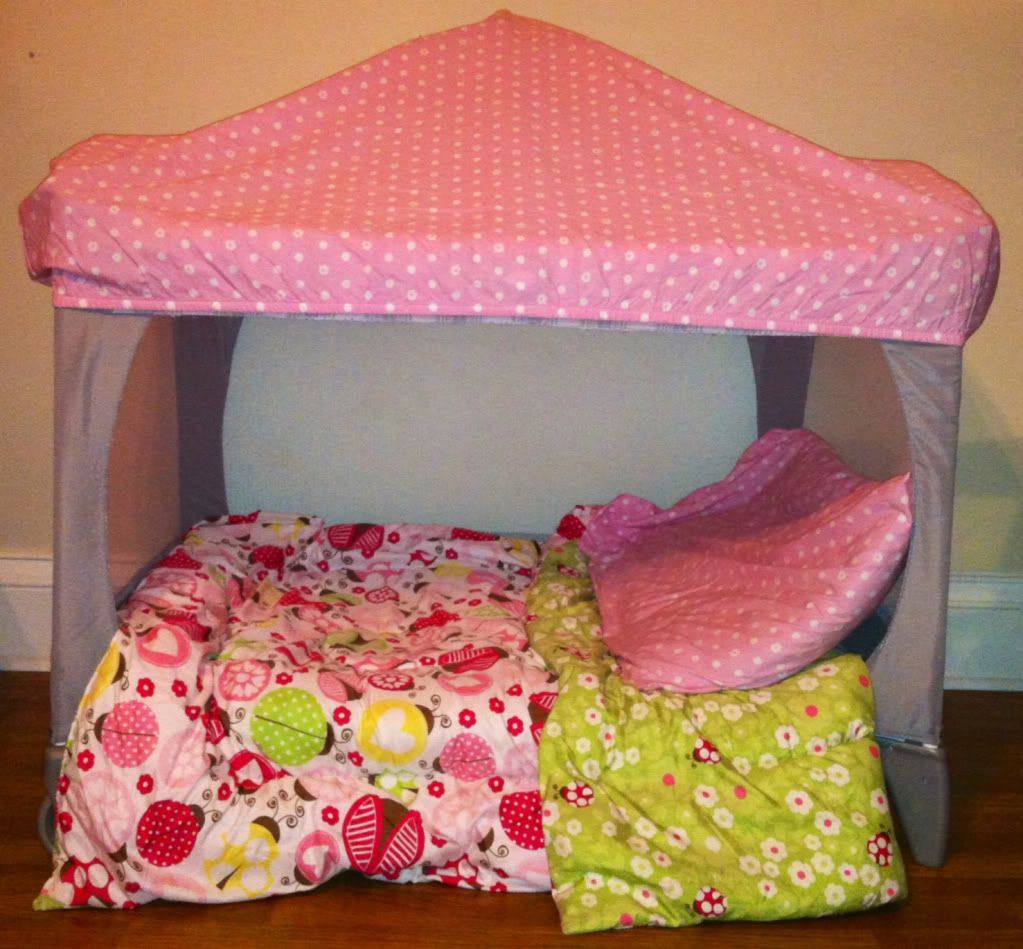
I made another gluing line about 2 inches apart from the first glue marks for some extra security, clipped the excess fabric, fluffed it out and tadaaa... the bed base is finished!
~~~~~~~~~~~~~~~~~~~~~~~~~~~~~~
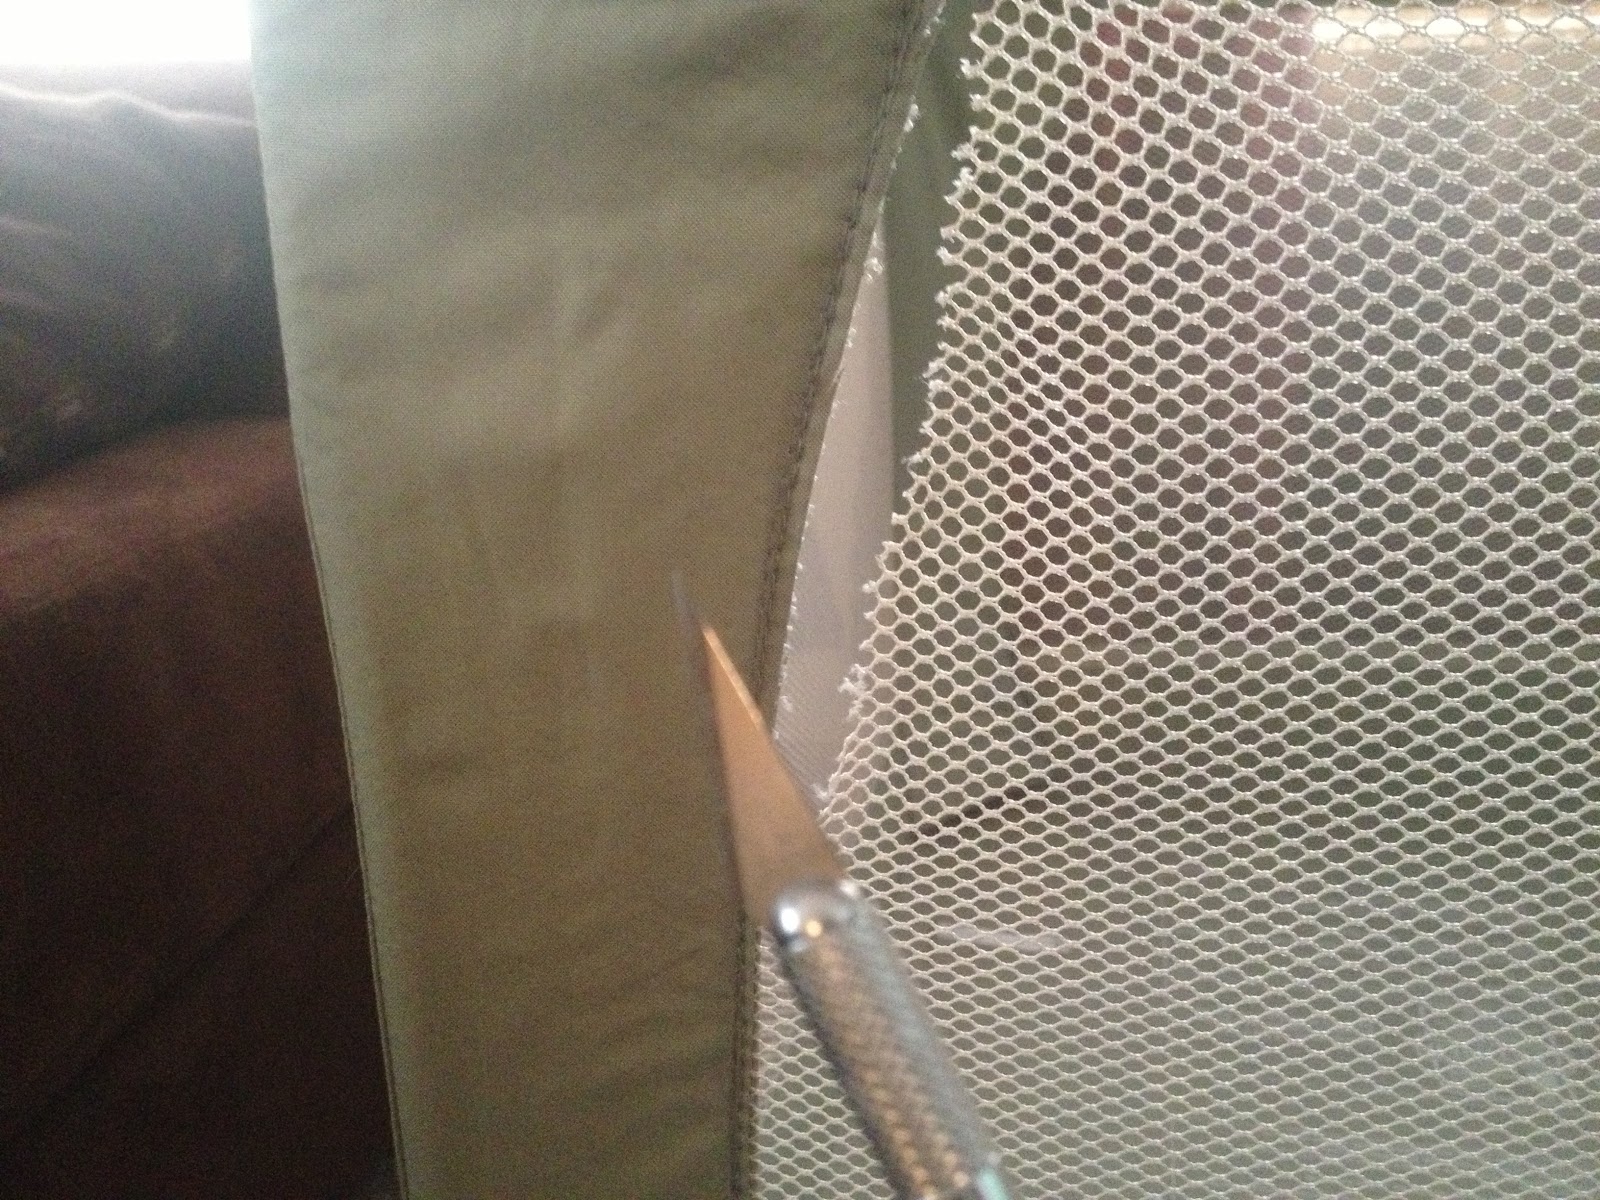
I only cut out the netting in the front using an exact-o knife, cutting as much of the netting away without cutting the existing seams (very important).
 ~~~~~~~~~~~~~~~~~~~~~~~~~~~~~~
Draped some fabric on the top (the middle is held by the mobile arm that came with the pack n play). You don't need to necessarily glue it down like I did but my young ones like to take things apart and bounce all over the walls, so I glued it down in hopes that I wouldn't have to be fixing it much. Holding good so far ;) I used rods that came with the pack n play (the ones that hold up the infant bassinet attachment) and draped the mesh material over it, cut it in half and tied it to the sides by making small holes on the sides with the remaining netting and used fabric from the excess material for ties (will beautify after)... and then CLEANED UP! :) that's the basics, can't wait to see what my hubby and I come up with for the completed look after all our decorating ideas are put together and put into action :)


If there are any questions on what I did or how I did it, please don't feel shame to leave a comment and ask... Thanks and I hope you and your little ones enjoy!

Wednesday, January 16, 2013

Inspiration

Recently I've been browsing movies and T.V. series on Netflix when I came across RuPaul's Drag Race... For those of you who don't know who RuPaul is, he is one of the world's most known Drag Queen. He holds a show that is similar to Tyra Banks' America's Next Top Model. On RuPaul's Drag Race, not only do they have to take nice pictures, or make flawless videos, they have to dress and beautify themselves. They'll get challenges and they have to customize their own runway outfits to meet the challenge standards. For example: one challenge they each received curtains (yes the ones you hang over windows) and had to make an original outfit from that and some random items you would find in a home furnish garage sale. It's pretty interesting :) Anyway, on one of the challenges the contestant, Raja (who was my favorite for his season) made this bottom... I really liked it and thought, maybe that wouldn't be as hard to make as I thought... and it wasn't really :) I can't seem to find a picture of the outfit that I'm referring to... But here is a picture of my version. 

It was quite simple to make... I up-cycled an old denim skirt and a "pareo" or "lava-lava" wrap from my mom to make it. I don't know how to sew yet -_- I'm hoping that one day someone like my talented sister, Melinda, will teach me... so I used my oh-so-handy hot glue gun :P it still came out very nice and I can't wait for Spring, so I can use it pool side :) There are so many great things you can create yourself if you are inspired from something or just have a creative imagination. When it comes to crafty things, almost nothing is impossible to create. Find an inspiration and work at it!

Saturday, January 12, 2013

Here We Go Again


Happy 2013 EVERYONE!
I'm baaaaaaacccckk. So you know how everyone makes New Year Resolutions?... And how most those resolutions last any where from a couple days to a couple months before it's called quits??? Well I hope my blog commitment isn't one of those -_-

Recently I've been making and selling crocheted ear warmers or "head wraps" and so far it's been doing good. Slow start because I haven't really had the time nor motivation to really get out there and advertise but it is moving along. I've made a few and sold a few, my patterns have changed a bit....it's a process of satisfaction. If I'm not satisfied with what I make, I don't like to sell or give them away because then I think the receiver won't be satisfied as well. 

I've posted some sales ads on Craigslist and Bookoo (Fort Leonard Wood)... Ear Warmers or "Head Wraps" $10ea. and removable attachments (such as flowers, bows, butterflies, pandas, and so much more) $5ea. I do make deals based on the amount you are willing to buy and after purchases, I also make deals on referrals :) That way, EVERYONE WINS!

My Lovely Daughter Modeling Mama's Creation


Interested in one of your own?... Shoot me a comment or email and we'll work it out. Thank You!